MakerWorld 3D map generator: make a terrain puzzle in MakerLab with TrailMark3D
Use Terrain Puzzle by TrailMark3D, the free 3D map generator in MakerWorld's MakerLab. Pick any place or upload a GPX, cut it into a jigsaw, add water and contour colors, and export a 3MF straight to Bambu Studio.
By Carlo ·
In short
Open Terrain Puzzle by TrailMark3D in MakerWorld's MakerLab, search a place or drop a GPX, and pick a shape and a grid or hexagon ring cut. Switch on water, contour bands or land cover, click Generate 3D model, check the pieces in 3D, add a frame with contour lines on its base and your text on the border, and click Export. MakerWorld asks for your Bambu Lab printer and nozzle and gives you a 3MF with the pieces packed onto plates. It is free, with no TrailMark3D account, up to 100 mm and 4 × 4 pieces or 3 rings, and 10 models a day.
MakerWorld, Bambu Lab's model site, has a set of online generators called MakerLab. One of them is TrailMark3D's own: Terrain Puzzle by TrailMark3D, a 3D map generator that turns any place on Earth, or the GPX of a route you hiked, rode or ran, into a terrain model cut into interlocking puzzle pieces. It runs inside the MakerWorld page, needs no TrailMark3D account, and exports a 3MF that opens in Bambu Studio with the colors painted on and the pieces already packed onto plates for your printer. This guide makes a hexagon puzzle of the Grand Canyon, from the search to the plate.
Open Terrain Puzzle on MakerWorld
Open Terrain Puzzle in MakerLab
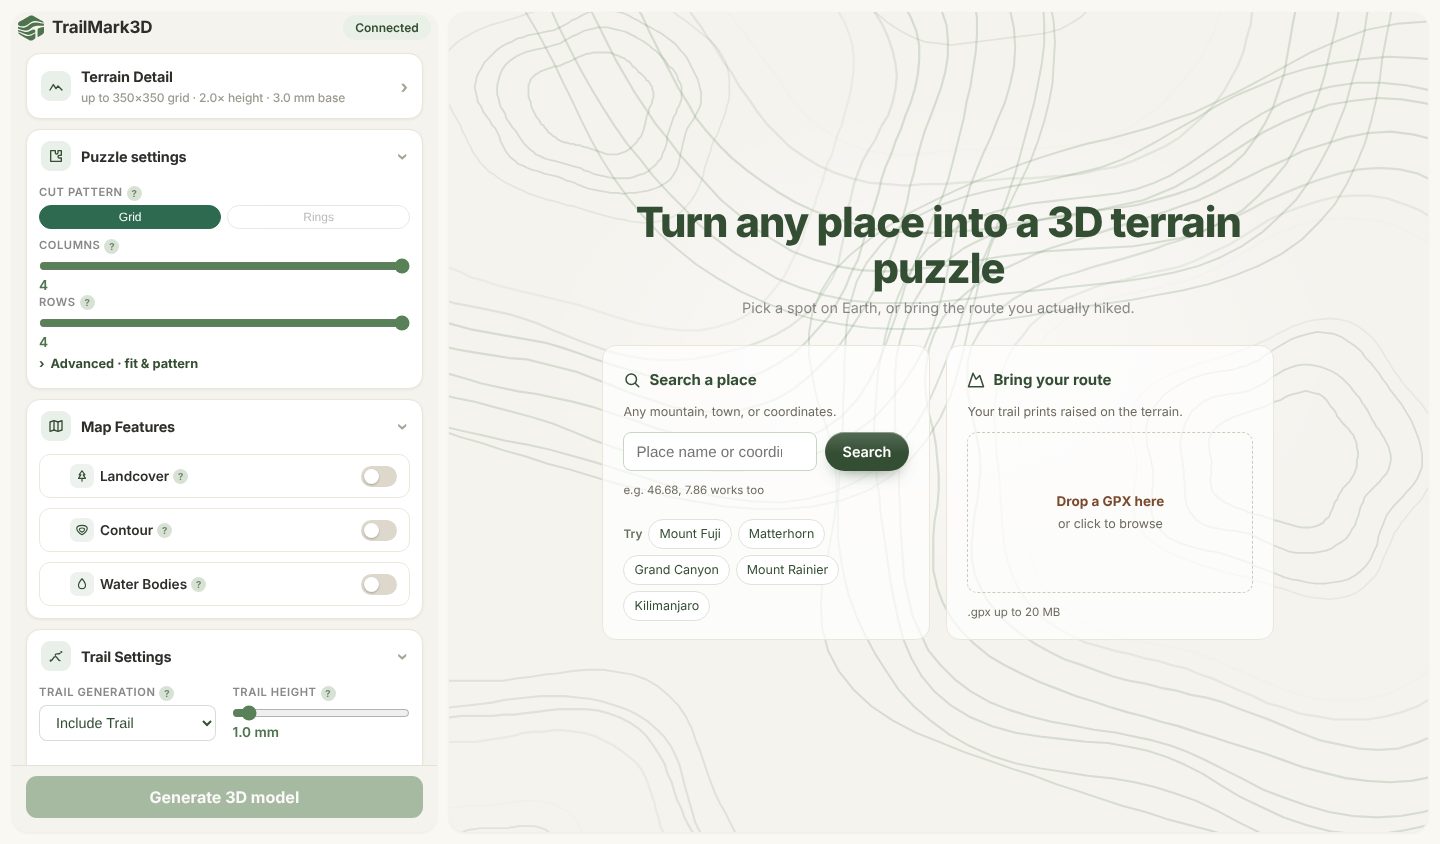
Open Terrain Puzzle by TrailMark3D on MakerWorld. The app loads inside the page and shows two ways to start: Search a place and Bring your route. Under the search box, the Try chips (Mount Fuji, Matterhorn, Grand Canyon, Mount Rainier, Kilimanjaro) open a famous place in one click.
Search a place or upload your GPX
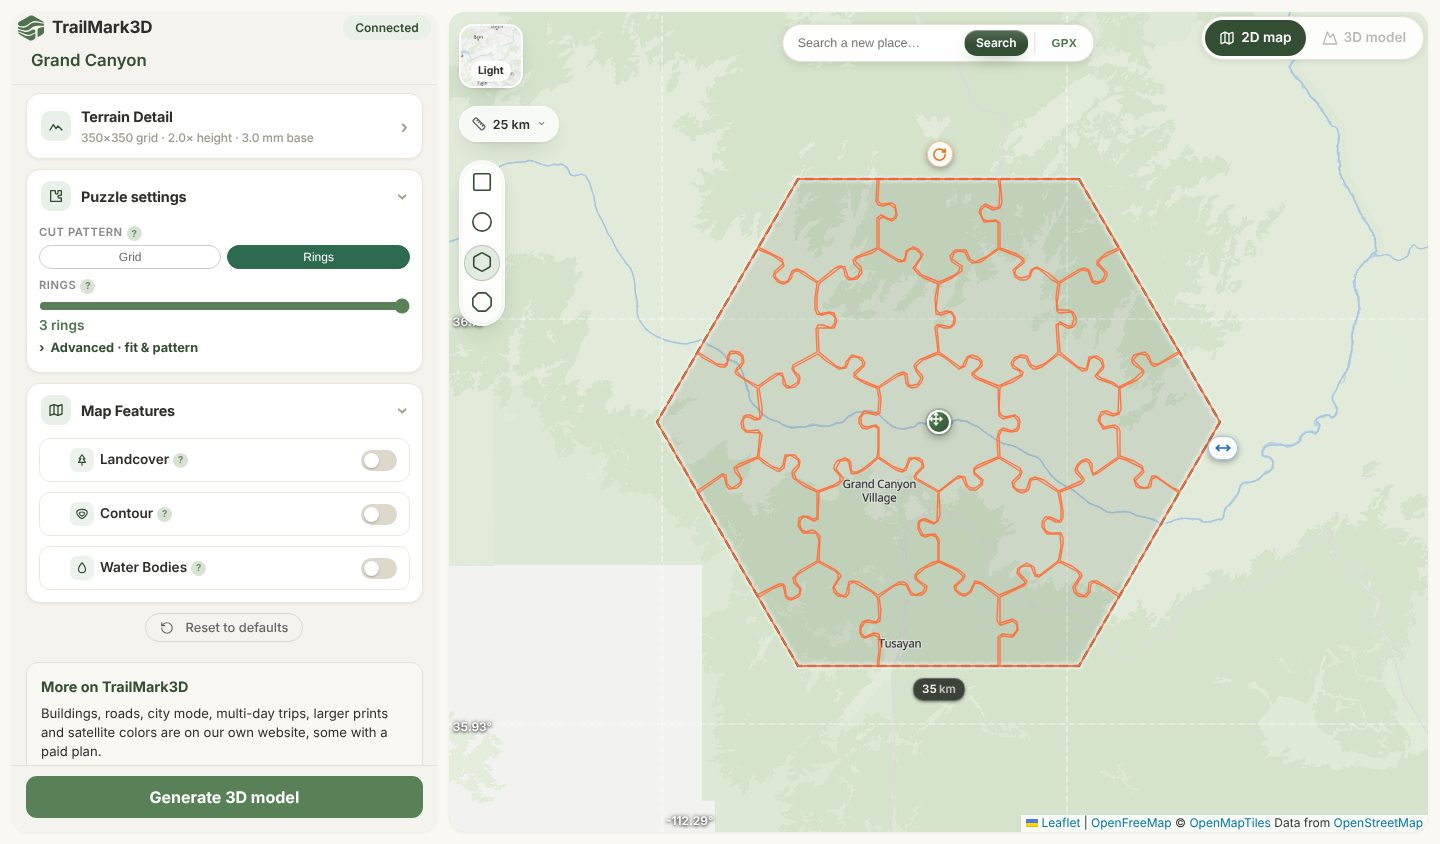
Type a mountain, a national park, a town or coordinates such as 36.06, -112.14 and click Search, or click a Try chip; here it is Grand Canyon. To print a route, drop its .gpx file on Bring your route (up to 20 MB) and the trail is raised on the terrain. The map opens with the area as a tile: drag the center handle to move it, the side handle to resize it, and the round handle to turn it. The scale button at the top left (25 km here) sets how much of the map you see, and the tile can cover up to 500 km.
Set the shape, size and puzzle cut
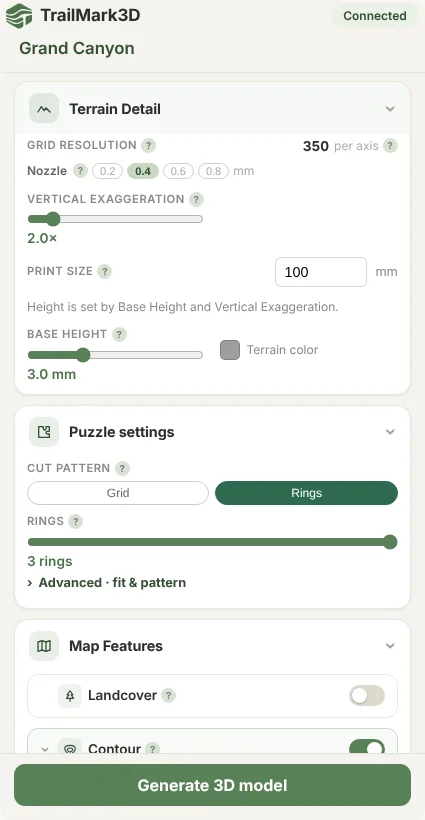
Pick the tile shape on the left edge of the map: Square, Circle, Hexagon or Octagon. In the settings, Print Detail holds the Print size (up to 100 mm), the Vertical exaggeration that makes the relief stand out (2× by default) and the Base height. Under Puzzle settings, pick the Cut pattern: Grid sets Columns and Rows (up to 4 × 4, 16 pieces), and Rings cuts hexagon pieces around a center one (up to 3 rings, 19 pieces). Rings need a round shape, so they are greyed out on a square. The cut is drawn on the map as you change it.
Add water, contour bands and land cover
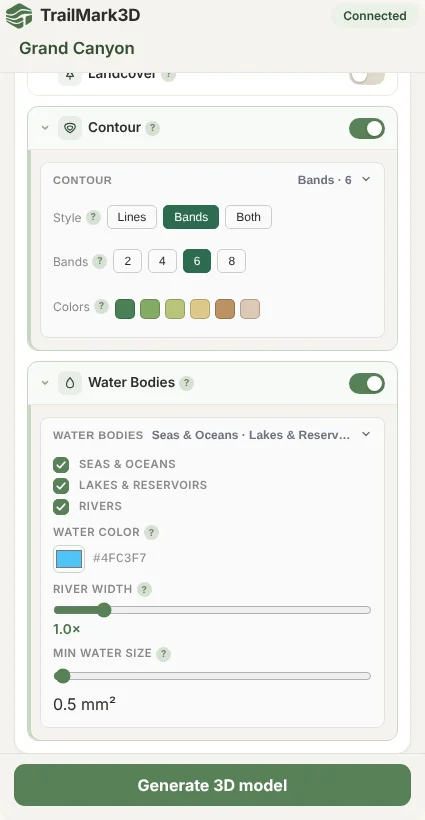
Map Features adds the colors, each in its own filament slot. Water Bodies prints seas, lakes and rivers in a color you pick; in the Grand Canyon it traces the Colorado River. Contour draws contour Lines or colors the terrain in altitude Bands (here 6 bands, from green to sand), or both. Landcover colors forest, grass, rock and the rest in 2 or 4 colors. Every color is a filament, so keep the total to what your AMS or printer holds.
Generate the model and check it in 3D
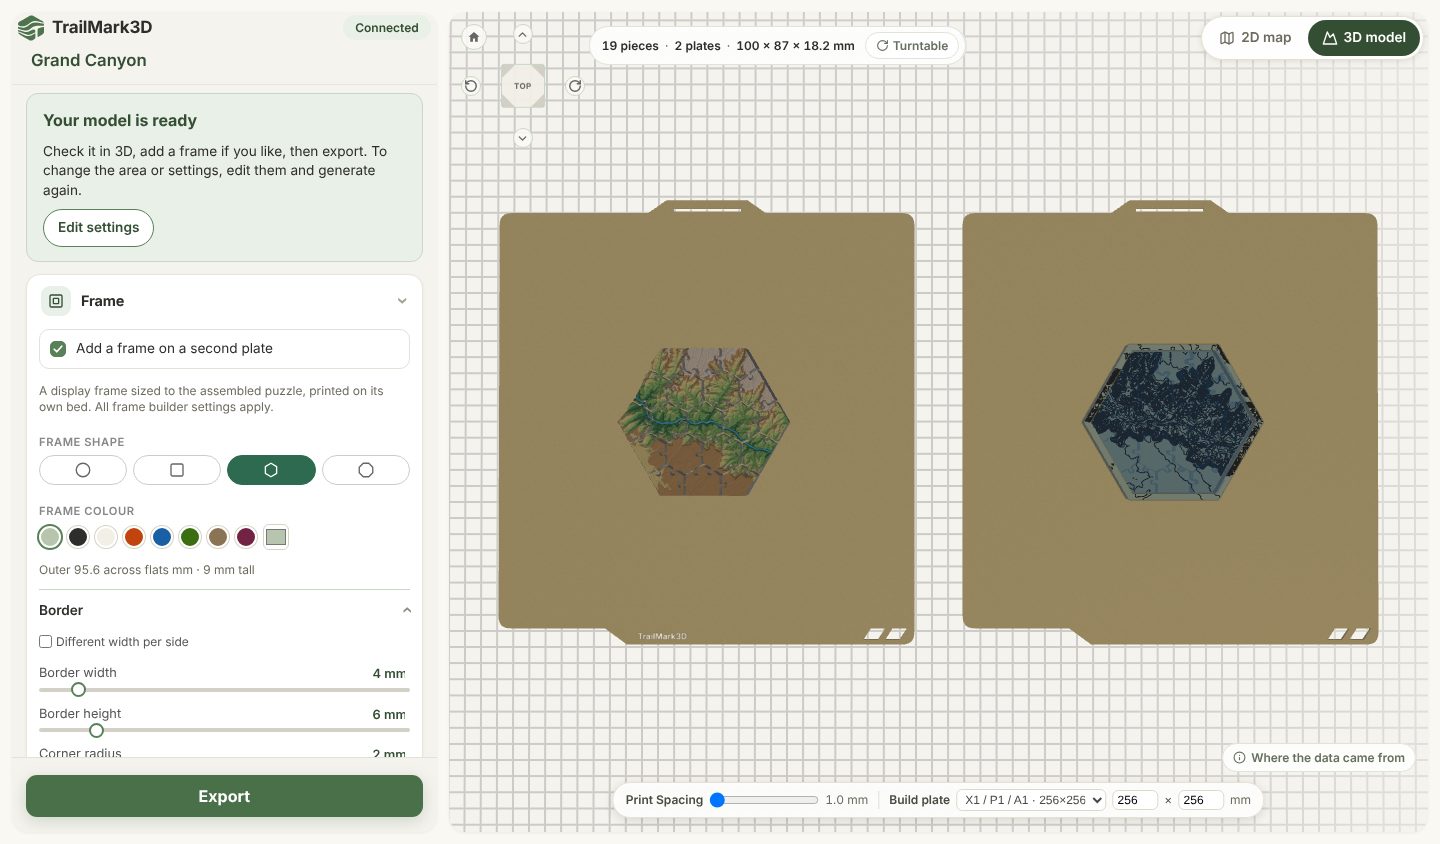
Click Generate 3D model. The app fetches the terrain and the water, builds the mesh and cuts the pieces, which takes under a minute for a 100 mm puzzle. The 3D model view then shows the plates as they will print, with the piece count, the plate count and the size at the top (19 pieces, 2 plates, 100 × 87 × 18.2 mm here). Click a plate to zoom in, drag to turn it, or press Turntable to let it spin. To change the area or a setting, click Edit settings and generate again.
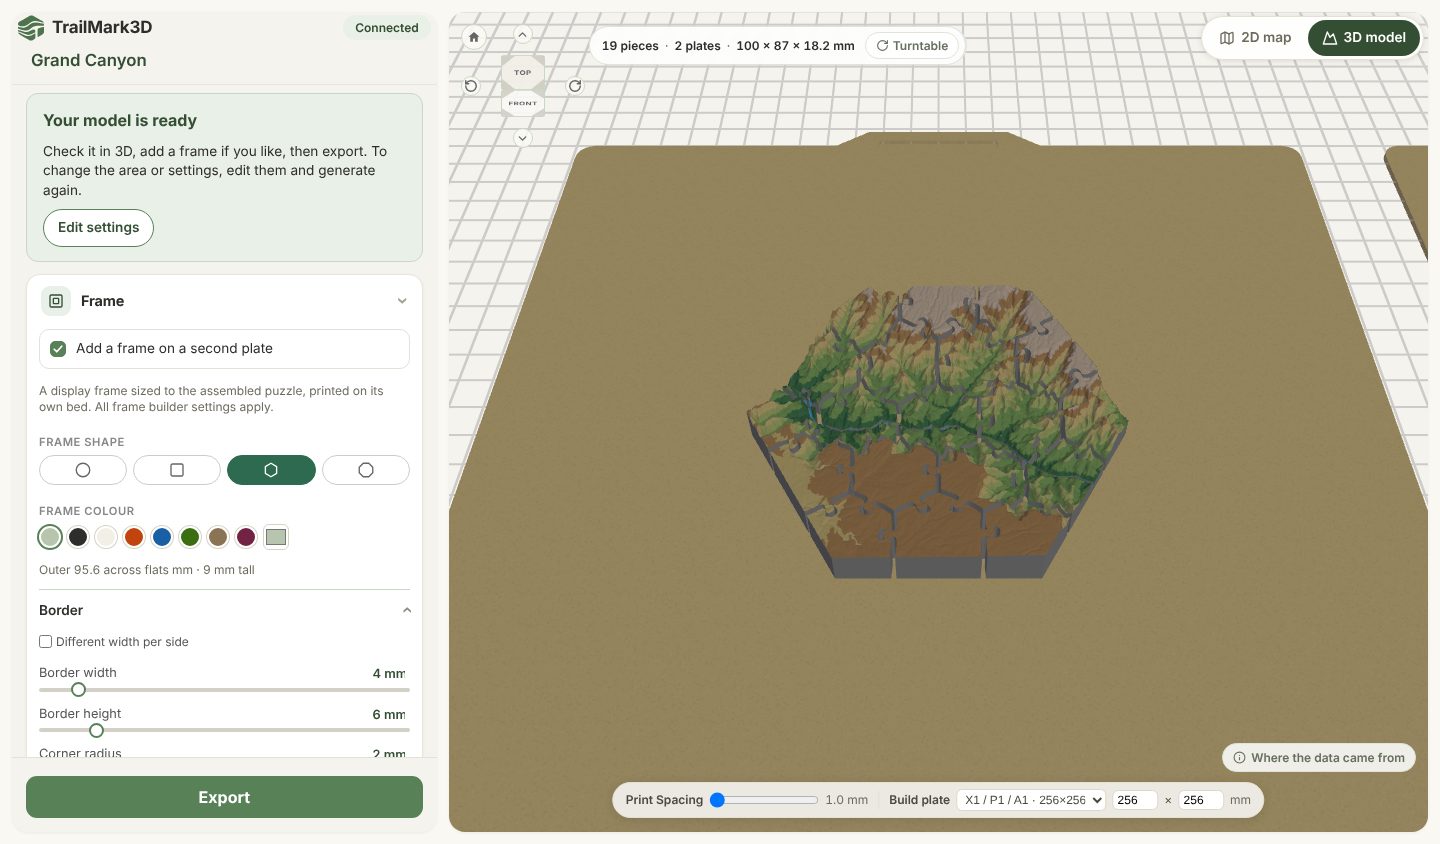
Add a frame with contour lines on the base
Under Frame, Add a frame on a second plate is on by default: a display tray sized to the assembled puzzle, printed on its own bed. Click the frame's plate in the 3D view to see it on its own, then pick the Frame shape and Frame colour. Under Border, a Border width of 8 mm leaves room for text in the next step. Under Contour, keep Contour lines on and drag Interval to its maximum, 200 m: Auto draws a line every 100 m here, which crowds the base, and 200 m halves the lines. Then untick Lines on the border and keep Lines on the base: the lines then run across the floor of the frame, under the pieces, and the border stays clean for the text. Untick Add a frame on a second plate to export the puzzle alone.
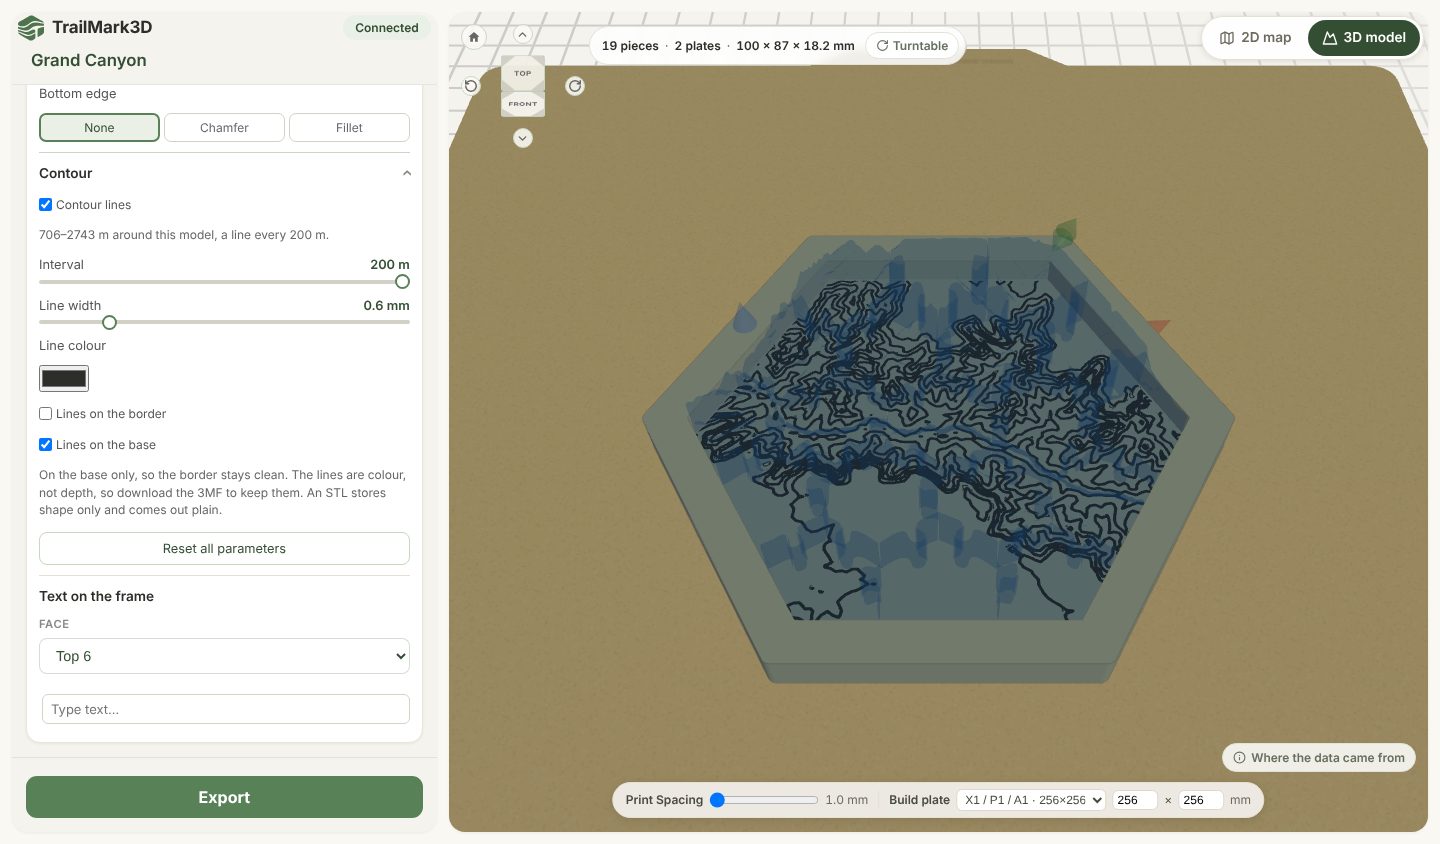
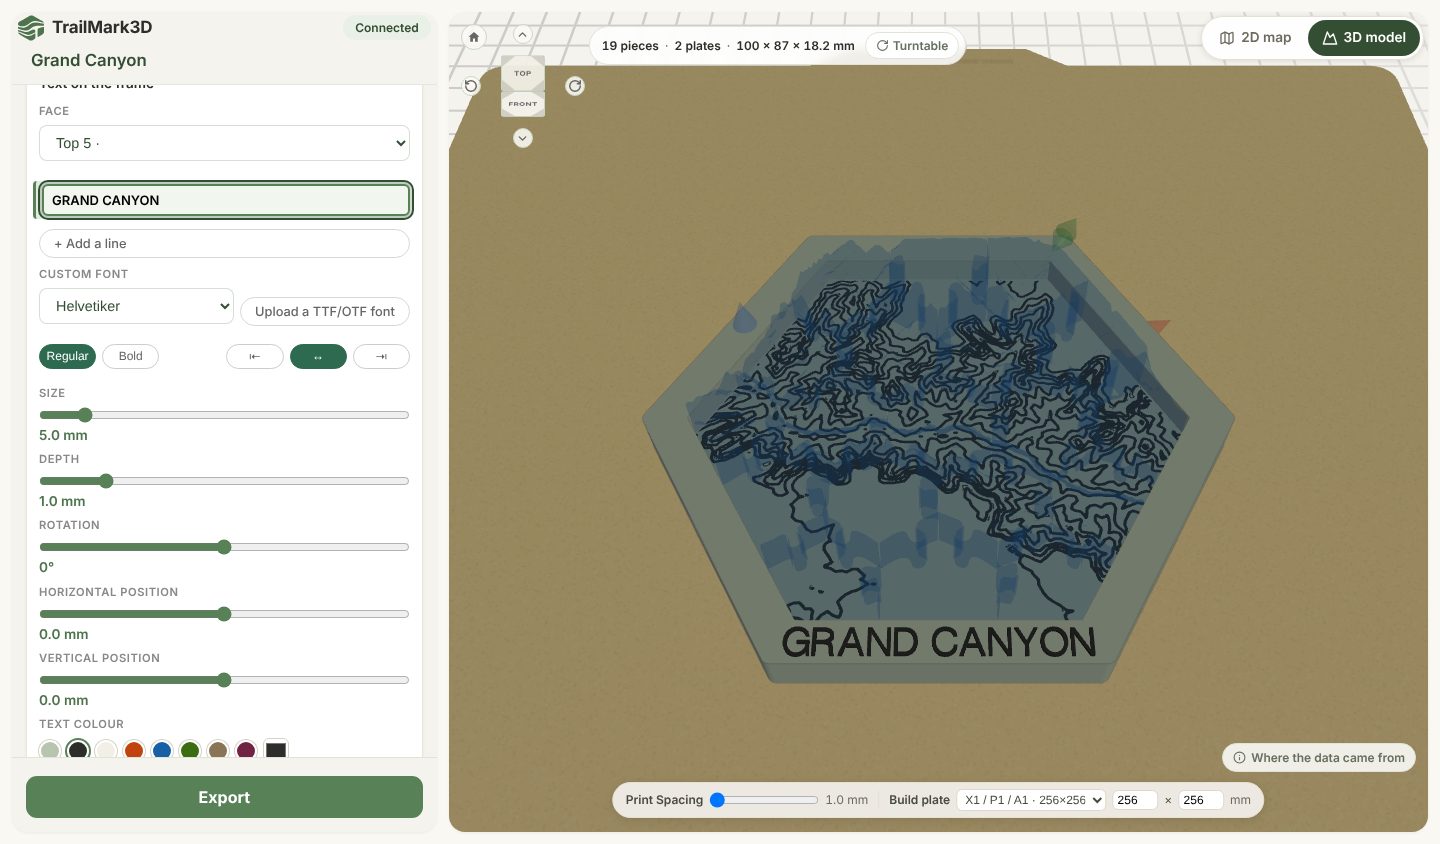
Add text on the border
Scroll to Text on the frame. Pick the side of the border in Face: Top 1 to Top 6 are the six top edges of a hexagon frame (Top 5 is the front one here), Side the outer walls and Bottom the underside. Type the text, for example the place name, and set its Size so it fits the border (5 mm on an 8 mm border). Choose the font, Regular or Bold, the alignment, the Depth, the Rotation, the position and the Text colour, which prints as its own filament. + Add a line stacks a second line, and picking another face adds text there too, such as the date of your hike on the back edge. You can also click a face of the frame in the 3D view and choose Add text…, then drag the text on the model to move it.
Export to Bambu Studio and print
Below the model, Build plate picks your printer's bed (X1 / P1 / A1, 256 × 256 mm, here) and Print Spacing sets the gap between pieces, at least 1 mm so they never print fused. Click Export. MakerWorld asks for your printer and nozzle, then gives you a 3MF with every plate ready: open it in Bambu Studio, slice and print. The export sets 0.16 mm layers and 15% infill, the pieces print flat with no supports, and the default 0.3 mm clearance suits a 0.4 mm nozzle.
When to use the TrailMark3D website instead
Terrain Puzzle on MakerWorld covers terrain, water, contours, land cover and a GPX trail, up to 100 mm and 4 × 4 pieces. The TrailMark3D website builds the same terrain plus buildings and roads, City Mode, multi-day trips, rectangle maps, satellite colors, STL downloads, and puzzles up to 28 × 28 pieces. Prints made with TrailMark3D are on its MakerWorld page.
Frequently asked questions
Is Terrain Puzzle on MakerWorld free?
Yes. Terrain Puzzle by TrailMark3D is free in MakerLab, with no TrailMark3D account and nothing to buy. Every model can be up to 100 mm, cut into up to 4 × 4 pieces or 3 hexagon rings, with water, contours, up to 4 land cover colors, your GPX trail and a frame.
How many models can I make a day?
10 per day per network, for everyone. Each Generate 3D model counts once, exporting a model you already built does not, and the counter resets at 00:00 UTC. After that you can keep building on the TrailMark3D website.
Which printers does the 3MF work with?
The 3MF is made for Bambu Lab printers and Bambu Studio. You pick the printer and nozzle when you export, and Build plate in the app packs the pieces for that bed, so a large puzzle on an A1 mini uses more plates than on an X1 or a P1. Each color is a filament slot, so a 4-color model needs 4 filaments or an AMS.
Can I make a puzzle of my own hike or bike ride?
Yes. Drop the route's GPX on Bring your route and the trail is raised on the terrain, with its own color in Trail Settings. The file is used to build your model and deleted with the job within a few hours.
Can I sell the prints?
Models from Terrain Puzzle are for personal use. Commercial use needs TrailMark3D Pro.
Why are buildings and roads missing?
They are not part of the MakerWorld app. Buildings, roads, City Mode and multi-day trips are on the TrailMark3D website, some with a paid plan.